A botched batch? Noooooooooooo!
It happens to all of us eventually. You swear you measured every ingredient perfectly and followed procedure precisely, but…….that soap batch is not setting up right. While a castille soap can easily take over 48 hours to properly set, you can usually tell if it will do so within the first 12 hours. If your soap just seems overly soft at the 12 hours mark, just cover it again and leave it be. It will likely get there. However, if your batch has separated and taken on a goopy and curdled look, it has likely not mixed and reacted quite right. It happens, sometimes you needed just wee bit more stirring, or it wasn’t just the right temp, or you added too much fragrance oil. Who knows. Sometimes we simply can’t identify what went wrong.
It happened with this batch. I did everything right in theory. However, I think there was a carrier oil in my lavender, so that might have altered something. Either way, I was seriously bummed since it was a great smelling batch and a larger batch too. Luckily, I was able to save it.
But first…… the recipe!
Orange Lavender lye Soap
- 60 oz coconut oil
- 48 oz sunflower oil
- 32 oz cold water
- 10 oz sodium hydroxide
- 3 oz orange oil
- 3 oz lavender oil
Wear gloves!
-Mix water and lye in a glass bowl using a wooden spoon. As soon as the lye, AKA sodium hydroxide, hits the water, it creates strong fumes, so open a window or turn on a vent hood. It is best to wear gloves when dealing with lye. If you get any lye and water on your skin, quickly flush it with vinegar. Stir the water and lye quickly and make sure it is fully dissolved. Let it sit and cool a few minutes.
-Add coconut and sunflower oils to a stainless steel pot and slowly heat until well mixed. Add the water/lye mixture to the pot. Mix well. Let both the oil and lye cool down to about 120 degrees Fahrenheit.
-Stirring and tracing. start stirring and keep going until you reach tracing. Since coconut oil is solid at temps below 76 degrees, you will reach “tracing” much more quickly than with using other oils. Tracing is when then mixture has “sapponified” enough that you can trace a slightly visual line over the top of the soap. In an all vegetable soap without coconut oil, this can take several hours of constant stirring with a spoon, when hand stirring. Luckily, I have a stick blender which makes the whole process take about five minutes. I just ran the immersion blender through it until it reached the consistency of a very runny pudding. Once you reach lite tracing, you can add your essential oils for scent, or a moisturizing oil. Then go back to mixing. As soon as it is thick enough to consistently trace, STOP. You don’t want it to seize up in the pot.
-After pouring, gently tap and and plop your mold a few times to make any air pockets break up. Once you have tapped the mold to get out the air bubbles, cover it and set on an even surface in a warm room. Place in a box, and Cover your box with a blanket or heavy towel. You want it to retain some heat while it sets.
-Allow to set for 6-24 hours.
-Once set, Slice into bars of any preferred size and shape. Then you want a dark, cool, dust free place they can hang out for a couple weeks undisturbed. This is the curing phase. Using a lye soap bar before it has cured, can result in a too soft bar that falls apart in the shower and does not last long. The lye can also irritate your skin if you don’t allow it to cure. I like to be safe and allow my bars to cure for a full month in a closed linen closet in my basement. I also like to set the bars on a sheet of cardboard or just in a loosely closed cardboard box so that any oils oozing can be absorbed into that instead of pooling on my shelf.
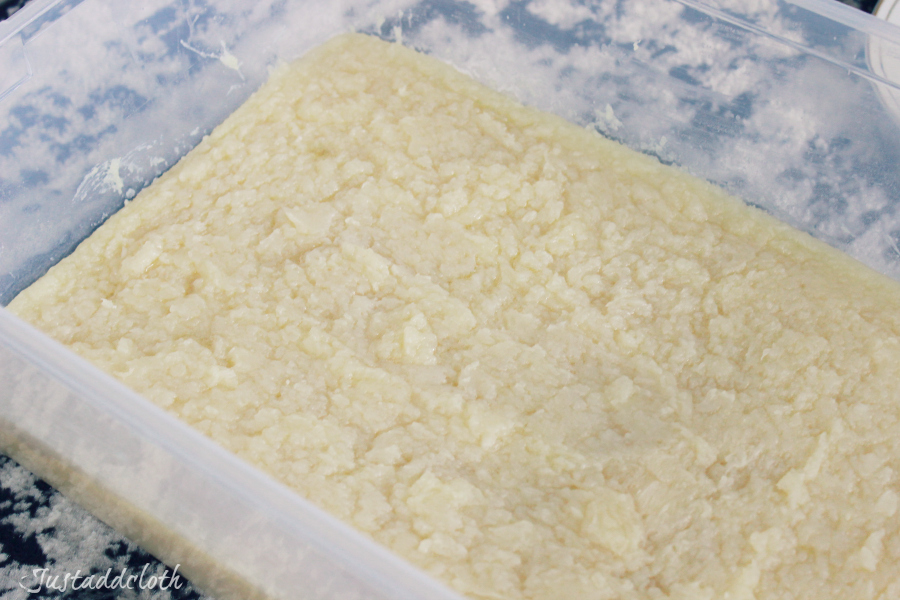
 The re-poured batch will look bumpy
UH OH, My batch didn’t set up properly??!?!?! HELP!!
OK, if you get after it in less than 24 hours, it can easily be saved.
We are simply going to hot process our cold process batch. This sounds fancy, but all you do is dump your poured soap back into the pot and melt it down. If the soap has partially set up, you will want to cut it up into smaller bits. Some people even try to grate the botched soap. My mess was pretty goopy so I just mashed it into a large soup pot. A crock-pot works well too.
Turn up the heat enough to slowly melt it down into a liquid soap that is similar to a chunky applesauce. Mix and stir until your arms fall off. You are trying to get those separated oils to incorporate without causing the soap to seize up. This is delicate so DO NOT use a stick blender. Do it by hand. Once the applesauce looking batch is incorporated enough to not separate when you allow it so sit a minute, it can be re-poured into your mold.
Due to the chunky texture, it will be more prone to air bubbles than an original batch. You will want to tap and even slam the mold down on a tabletop to release the air pockets as best you can. Press the soap down as tightly as you can manage to create a solid brick.
Now cover it and place it in a warm room just like with an original batch.
Since it is already basically processed, this saved batch will not take long to set. You can usually pop it out of the mold in less than 12 hours.

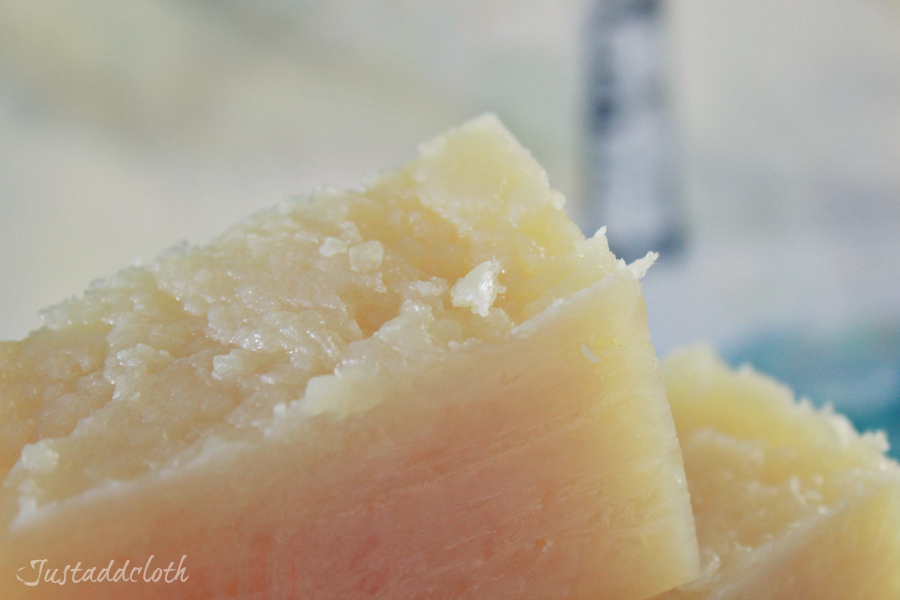
It will look PRIMITIVE. Depending on the style of soap you like to be known for, you might not be giving these bars out to friends and family. The soap will be very rustic looking, and not smooth. However, it will work just fine and I find the bars last just as long in the shower, even with the chunky texture. Some people even prefer their soap to have the primitive look of a re-poured batch. It is definitely a soap that looks authentically homemade.
Unfortunately, the reprocessing will cause some of the essential oil fragrance to evaporate, so the smell will be weaker than it was originally. Still, it is nice to save a whole batch of soap, and who knows, maybe you will decide the rustic look is your jam.


