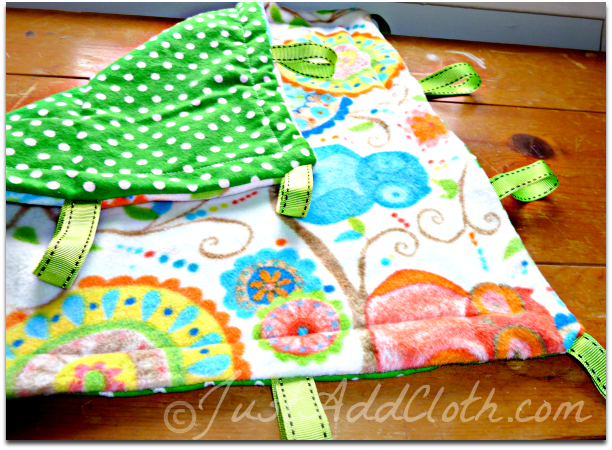
My kids have always been obsessed with the tags on blankets, coats, clothing, and anything else. Apparently other children feel the same way about tags or there would not be a plethora of tag blankets, balls, and toys out on the market. I always meant to order a tag toy for my kids, but it just seemed ridiculous to pay $25 or more for such a small blanket that doesn’t even cover their whole body. After being annoyed at how much a 16 inch wide taggie blanket can be in all of the baby boutiques, I set out to make one myself since they seemed pretty straight forward.
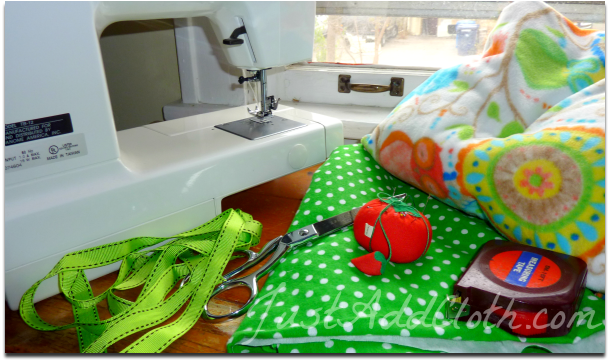
Aside from my sewing machine, all I needed was fabric for the back, fabric for the front, thread, and some thick, durable ribbon. I had plenty of fleece and flannel in my fabric stash and re-purposed some ribbon that came tied around a gifted pair of pajamas. I have been waiting for a project to use this cute owl and mandala themed fleece I purchased nearly two years ago.
Simply measure and cut out equal sized squares of your back and front fabrics. You can make it any size you like, but I went with just 18 inches for safety reasons since I was putting this in my daughter’s crib when she was eight months old. Make sure to make the squares are a good inch larger than your desired blanket size for the seams. I planned for my 18 inch squares to become a 16 inch blanket. I am NOT very experienced with sewing, so I wanted a generous amount on each end, especially since I was clumsily working with fleece.
- Place your fabric squares on top of each other with the outer sides facing inward like an inside out pillow case.
- Use pins to secure your border and keep the squares from shifting away from each other.
- Cut your ribbon pieces for your tags. I made mine about five inches long to give me some wiggle room.
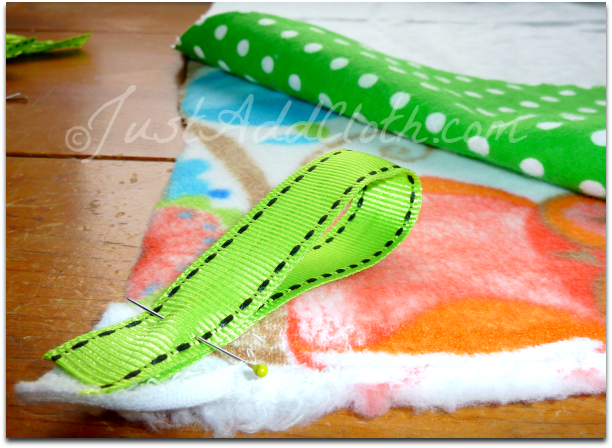
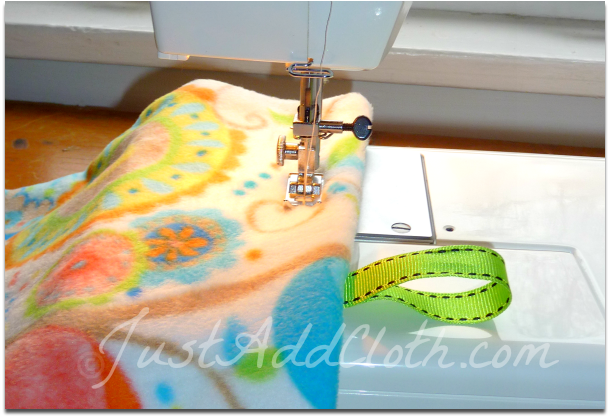
- Fold your ribbon piece in half and tuck the loop end on the inside of your inside-out blanket. Secure the tag with a pin on the opposite edge.
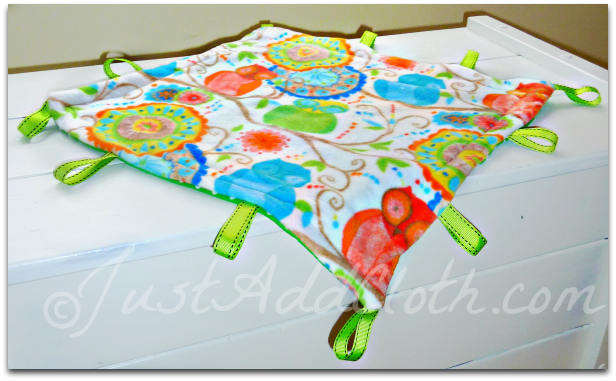
- Repeat with each tag loop around your blanket. You may space the tags at any interval you prefer. I did one on each corner and two between corners.
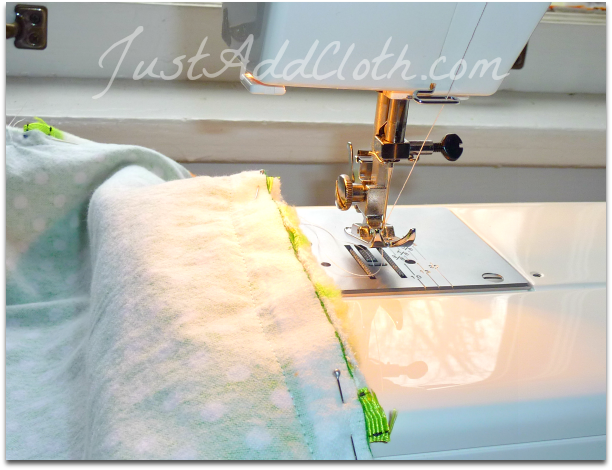
Once your inside-out blanket has all of the tags pinned inside, it is time to whip out the sewing machine, (mine is a Threadbanger) and sew around the perimeter of the blanket. Since I was just working with flannel and fleece for a blanket, I just did a simple straight stitch about 1/3 of an inch from the edge. Make sure to stop a few inches from your start point so that you can flip your blanket right side out
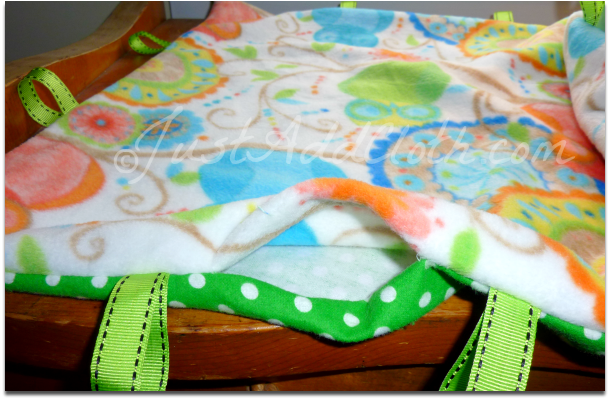
When your border stitch is finished, you can turn your blanket right side out through the small gap you left on one side.
This next part is technically optional, but after turning, I then top stitched the border of my blanket about an inch from the edge to keep it more in blanket form rather than looking like an empty pillow case. This makes it more durable and reinforced your tags. I used a straight stitch in white thread, but you could use a more decorative stitch or even embroider your border at this point.
After top stitching the blanket edge, sew shut the opening you used to turn the blanket. You can just fold in the edges and hand stitch it or straight stitch it on your machine.
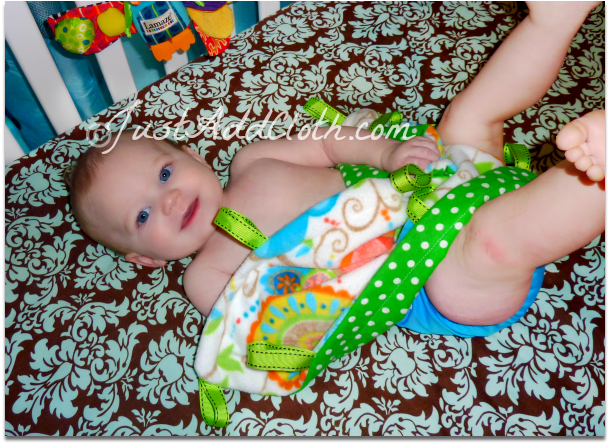
And voila! In just about 15-20 minutes you made an easy taggie blanket for about $2 worth of materials!
This is an easy way to save some money and also have a custom baby item made with your favorite colors and themes. It would make a great baby gift for a new mom since it would be homemade and personal. You could even embroider the baby’s name on the blanket. My daughter sleeps with her taggie every night. She loves manipulating the little tags in her hands.
This whole project can even be done without a sewing machine if you need to hand stitch it. I imagine you could still finish it in a little over an hour by hand.
Do you have any easy DIY baby gift projects coming up?


Love the fabric you chose for this! I need to dust my sewing machine off soon. This would make a great gift too – I love giving handmade gifts, especially for babies.
I love the cute fleece they have at fabric.com!
I LOVE this!!! I am going to have to make one. I just pinned this post to my #DIY board.
Thanks! It is nice that they do not take too many materials and can be made from upcycled stuff.
Pingback: Calorie
Pingback: Women
omgosh so cute and love the colors. Bright and colorful!
This is so cute and I love! Just pinned it to my crafty board!
Thanks!
(Glad the comment form finally worked for you.)
Love this idea. I’m not very crafty person, I’ll save this and see if I can get someoen to make my baby one 😀
thanks for the lovely Idea! 😀
I am going to make some of these for my first grand baby. Thanks for sharing!
Does anyone know how safe home-made taggie gifts are? I’m eager to try this and some other taggie projects I’ve seen online, but is there a danger of the baby ripping the tags out and getting them in his or her mouth? I have a few friends having babies soon, but I’ve never had one myself and don’t want to give them a gift that may pose a choking hazard. Would love advice from moms or folks who have tried it themselves!
well, it certainly won’t be any more risky than a store bought taggie. Make sure your ribbon is a tougher fabric that won’t unravel and use a synthetic thread. Cotton thread would be more likely to break. A tough polyester carpet thread would be unlikely to tear. Also, I would make sure the loops for your tags are short enough that a very young baby cannot get her fists through.